By Michael Bell, Imaginary Bakery
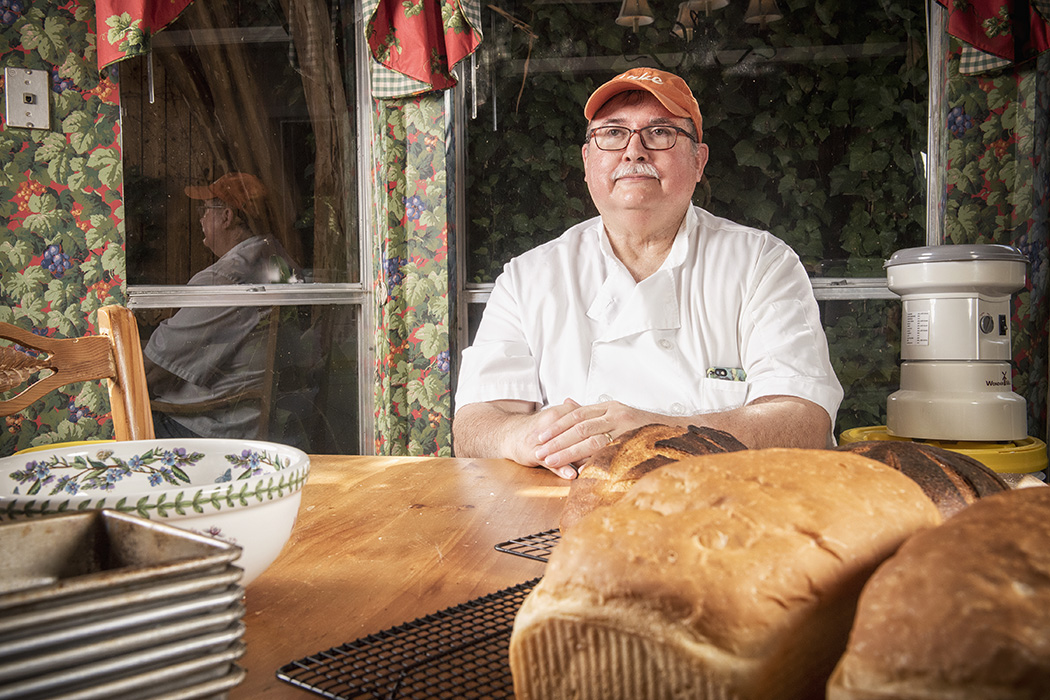
Photo by Danny Fulgencio.
Bread making 101
If anyone had told you that there would be a time set aside when you couldn’t leave the house for weeks on end and you had to occupy your time – ALL of your time – with hobbies, honey-do’s, painful catching up on tasks you have been putting off, doing your taxes … WAIT a minute! Let’s not get that carried away!
What about finally learning to bake bread? You may have seen it done before. You’ve almost certainly had the experience of smelling bread in the oven and wondering what was involved in making this miracle happen yourself. The good news is that making your own bread is surprisingly simple.
You may have heard that making bread takes a lot of time, but that idea deserves a closer look. The process of making bread will usually take place over several hours, maybe 3 – 4 hours! What you may not have been told is that over that amount of time, you should only be actively working for 30 minutes or so, measuring and mixing your ingredients, a long time letting it rise and then baking it. In the mean time you can be reading, working out quadratic equations on how long this pandemic is going to last or watching TV.
You only need a few items in your kitchen to perform your bread making miracle:
- A bowl
- A spoon (traditionally wooden, for some reason)
- A kitchen scale (for example, an inexpensive one like this)
- Measuring spoons (for ingredient amounts too small to weigh)
- A bread baking pan (example)
- An oven
There is an endless array of nice-to-haves that you may want to invest in once you become addicted to baking:
- A mixer, hand-held or stand type with a “bread hook” (your life just got a lot easier)
- A bowl scraper (usually white plastic $1.50)
- A bench knife (sometimes called a bench scraper)
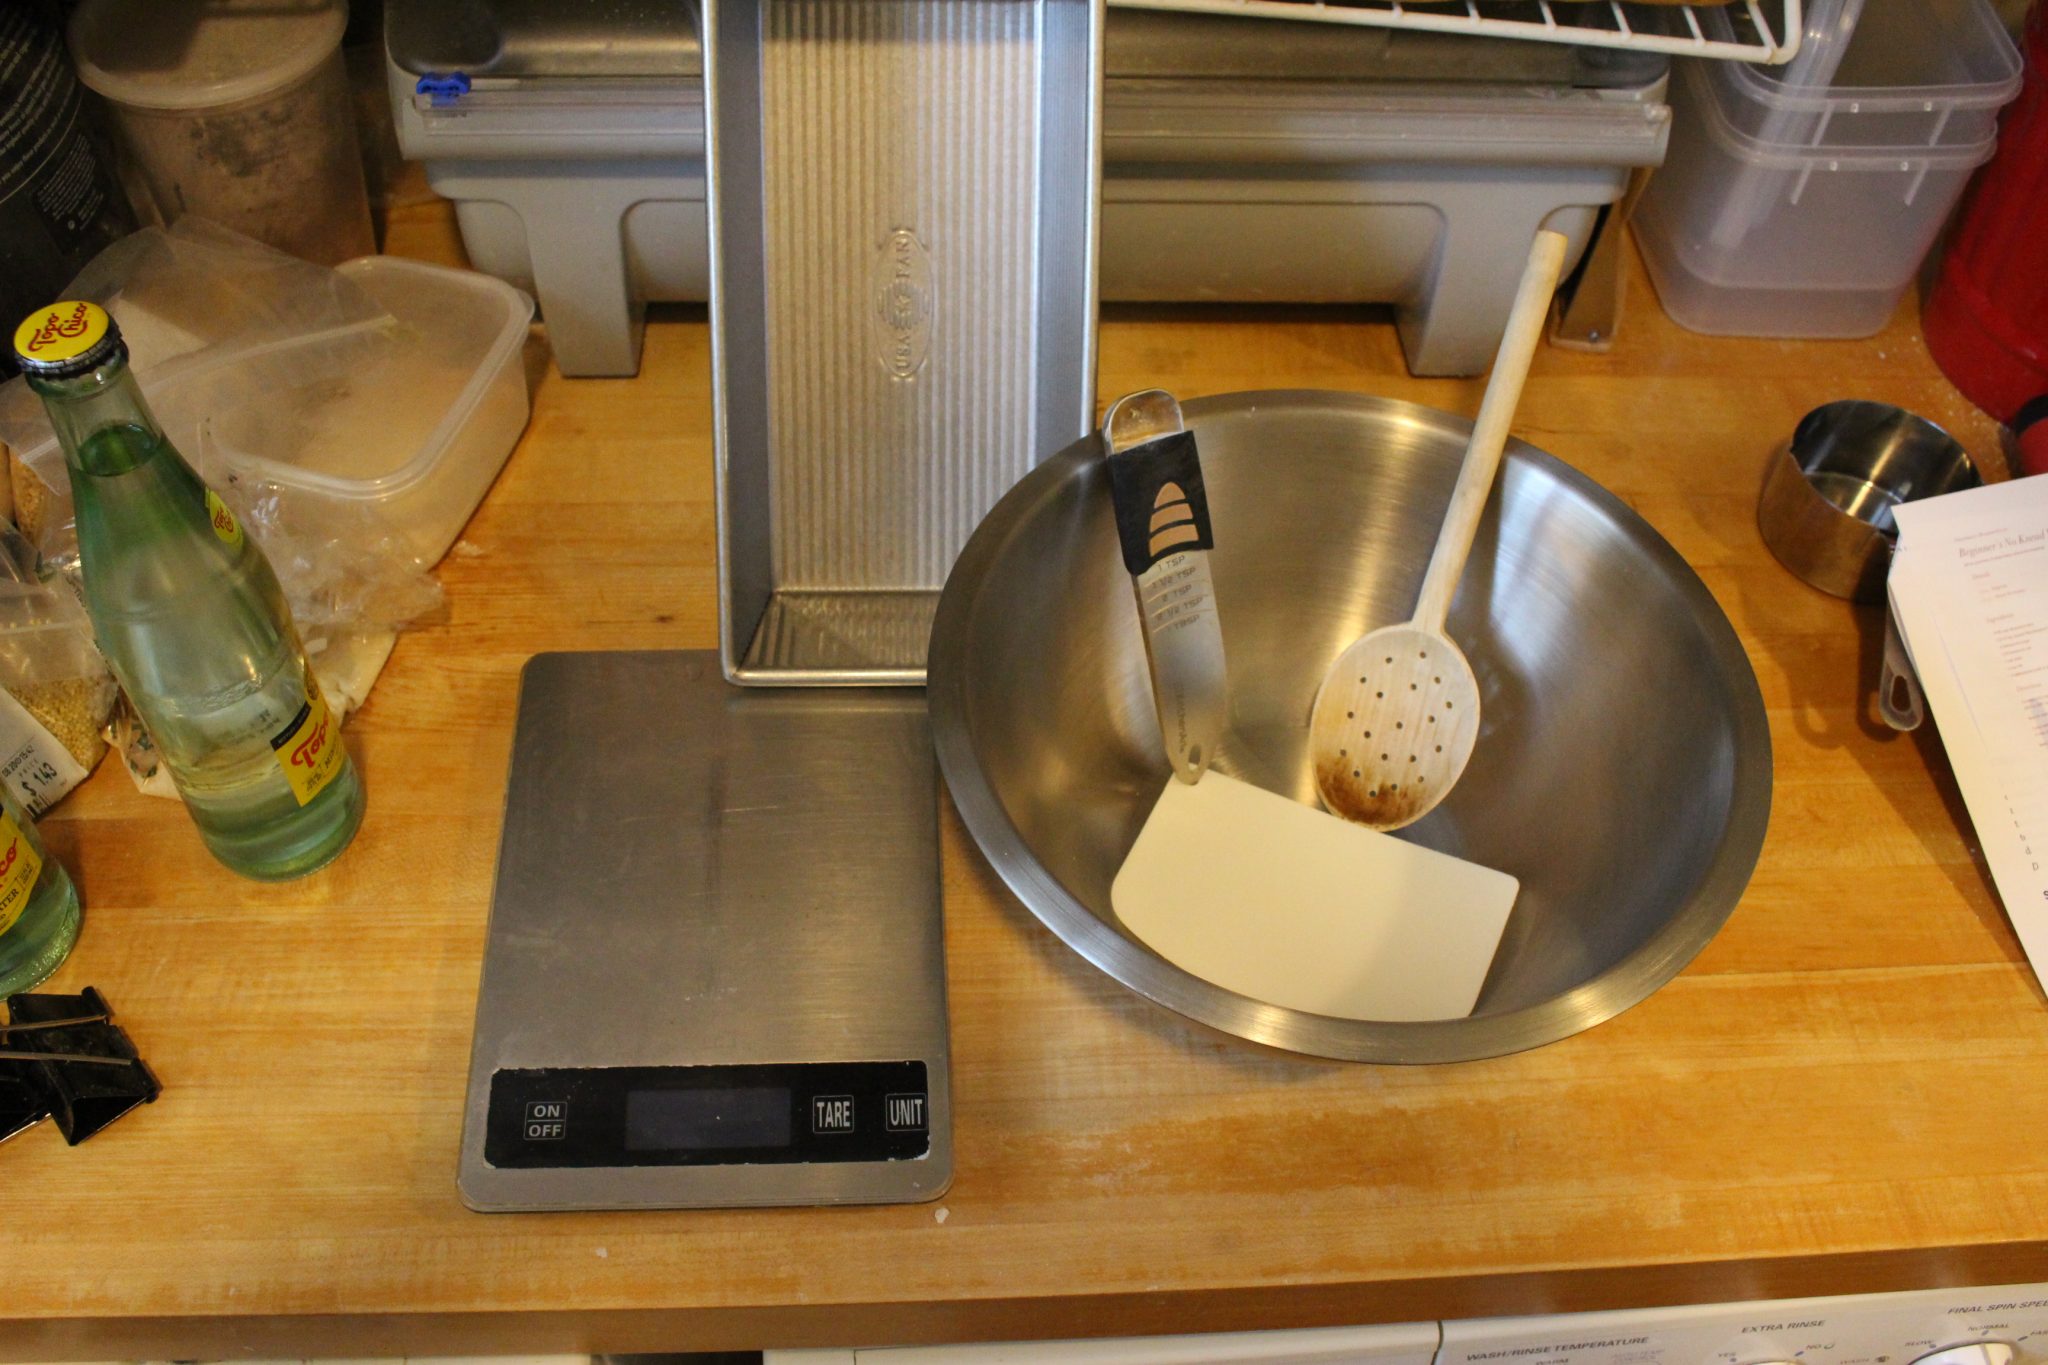
Photo courtesy of Michael Bell.
Inaugural Adventure
Let’s get down to making your first loaf of fresh bread. There are quite literally millions of recipes online. How to choose!? One simplifying assumption to keep in mind is that all you really need is four ingredients: flour, water, salt and yeast. The proportions of each ingredient and how you go about mixing, shaping and baking these ingredients have a big impact on how your bread turns out.
I think the recipe on Fleischmann’s Yeast’s website for Beginner’s No Knead White Bread is as good a place to start as any. The ingredients are few and the directions are easy to follow.
Beginner’s No Knead White Bread
Ingredients
- 4-1/4 cups all-purpose flour
- 1 (2-1/4 tsp.) packet Fleischmann’s® RapidRise Yeast
- 3 tablespoons sugar
- 1-1/2 teaspoons salt
- 1 cup water
- 1 cup milk
- 2 tablespoons butter or margarine
In this recipe, milk is used for half of the liquid to add richness and make the bread softer. The sugar is added to sweeten the bread, but it is optional. The butter or margarine have been added to add richness and to soften the bread.
Directions
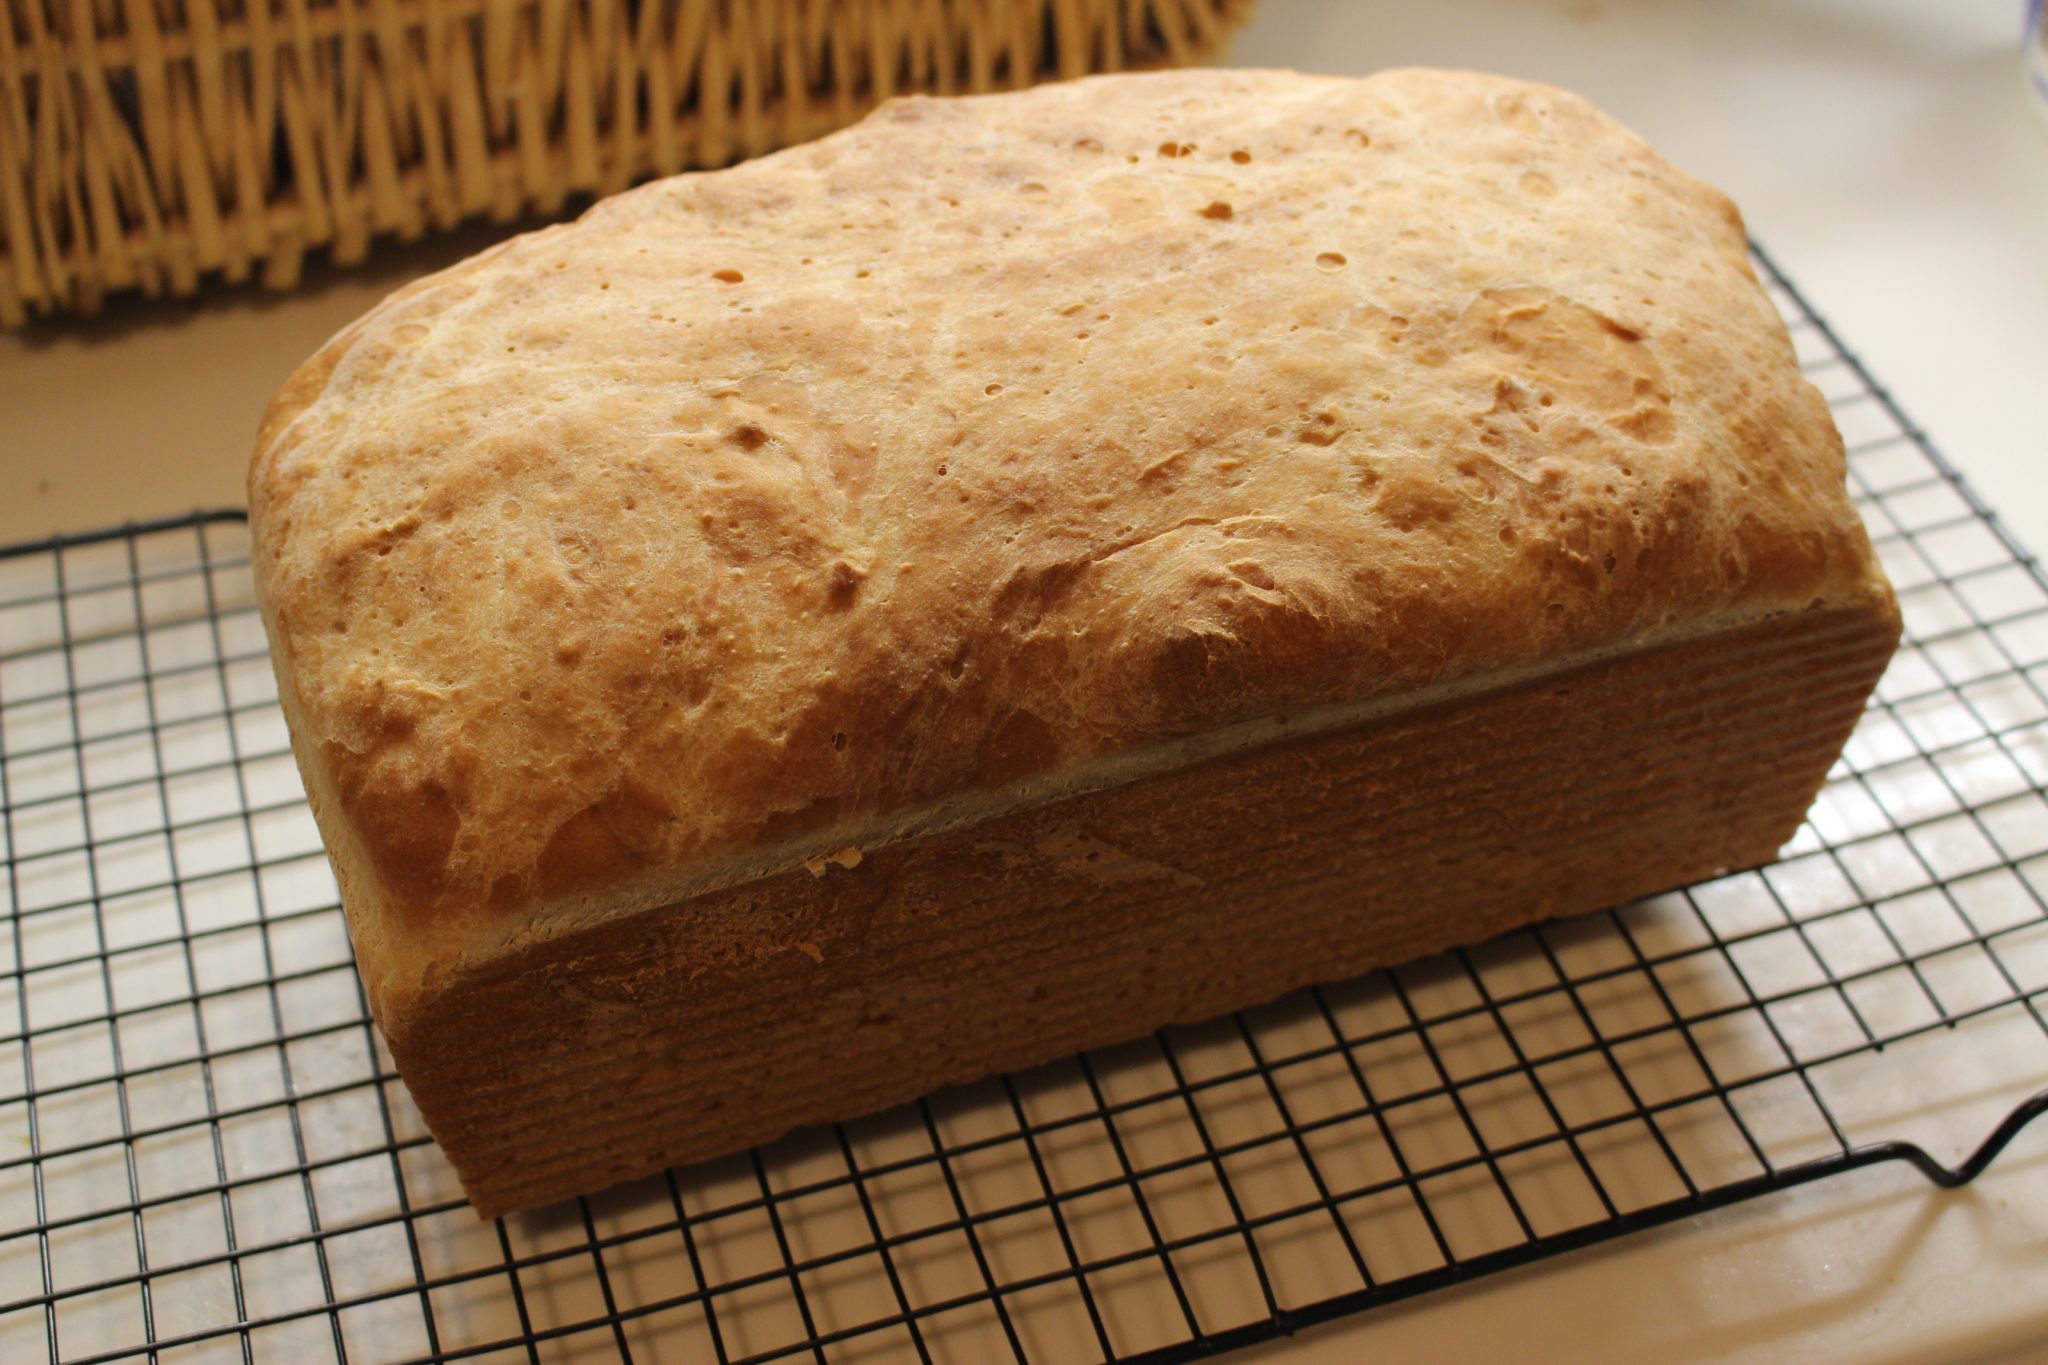
Combine 1-1/2 cups flour, dry yeast, sugar and salt in a large mixing bowl and stir until blended. Combine water, milk and butter in a microwave-safe bowl. Microwave on HIGH in 15 second increments until very warm but not hot to the touch (120° to 130°F, butter does not need to melt). Add to flour mixture.
Beat on medium speed of electric mixer until well mixed. Gradually add remaining 2-3/4 cups flour, scraping bowl occasionally. Beat on high speed for 2 minutes, scraping bowl occasionally.

Photo courtesy of Michael Bell.
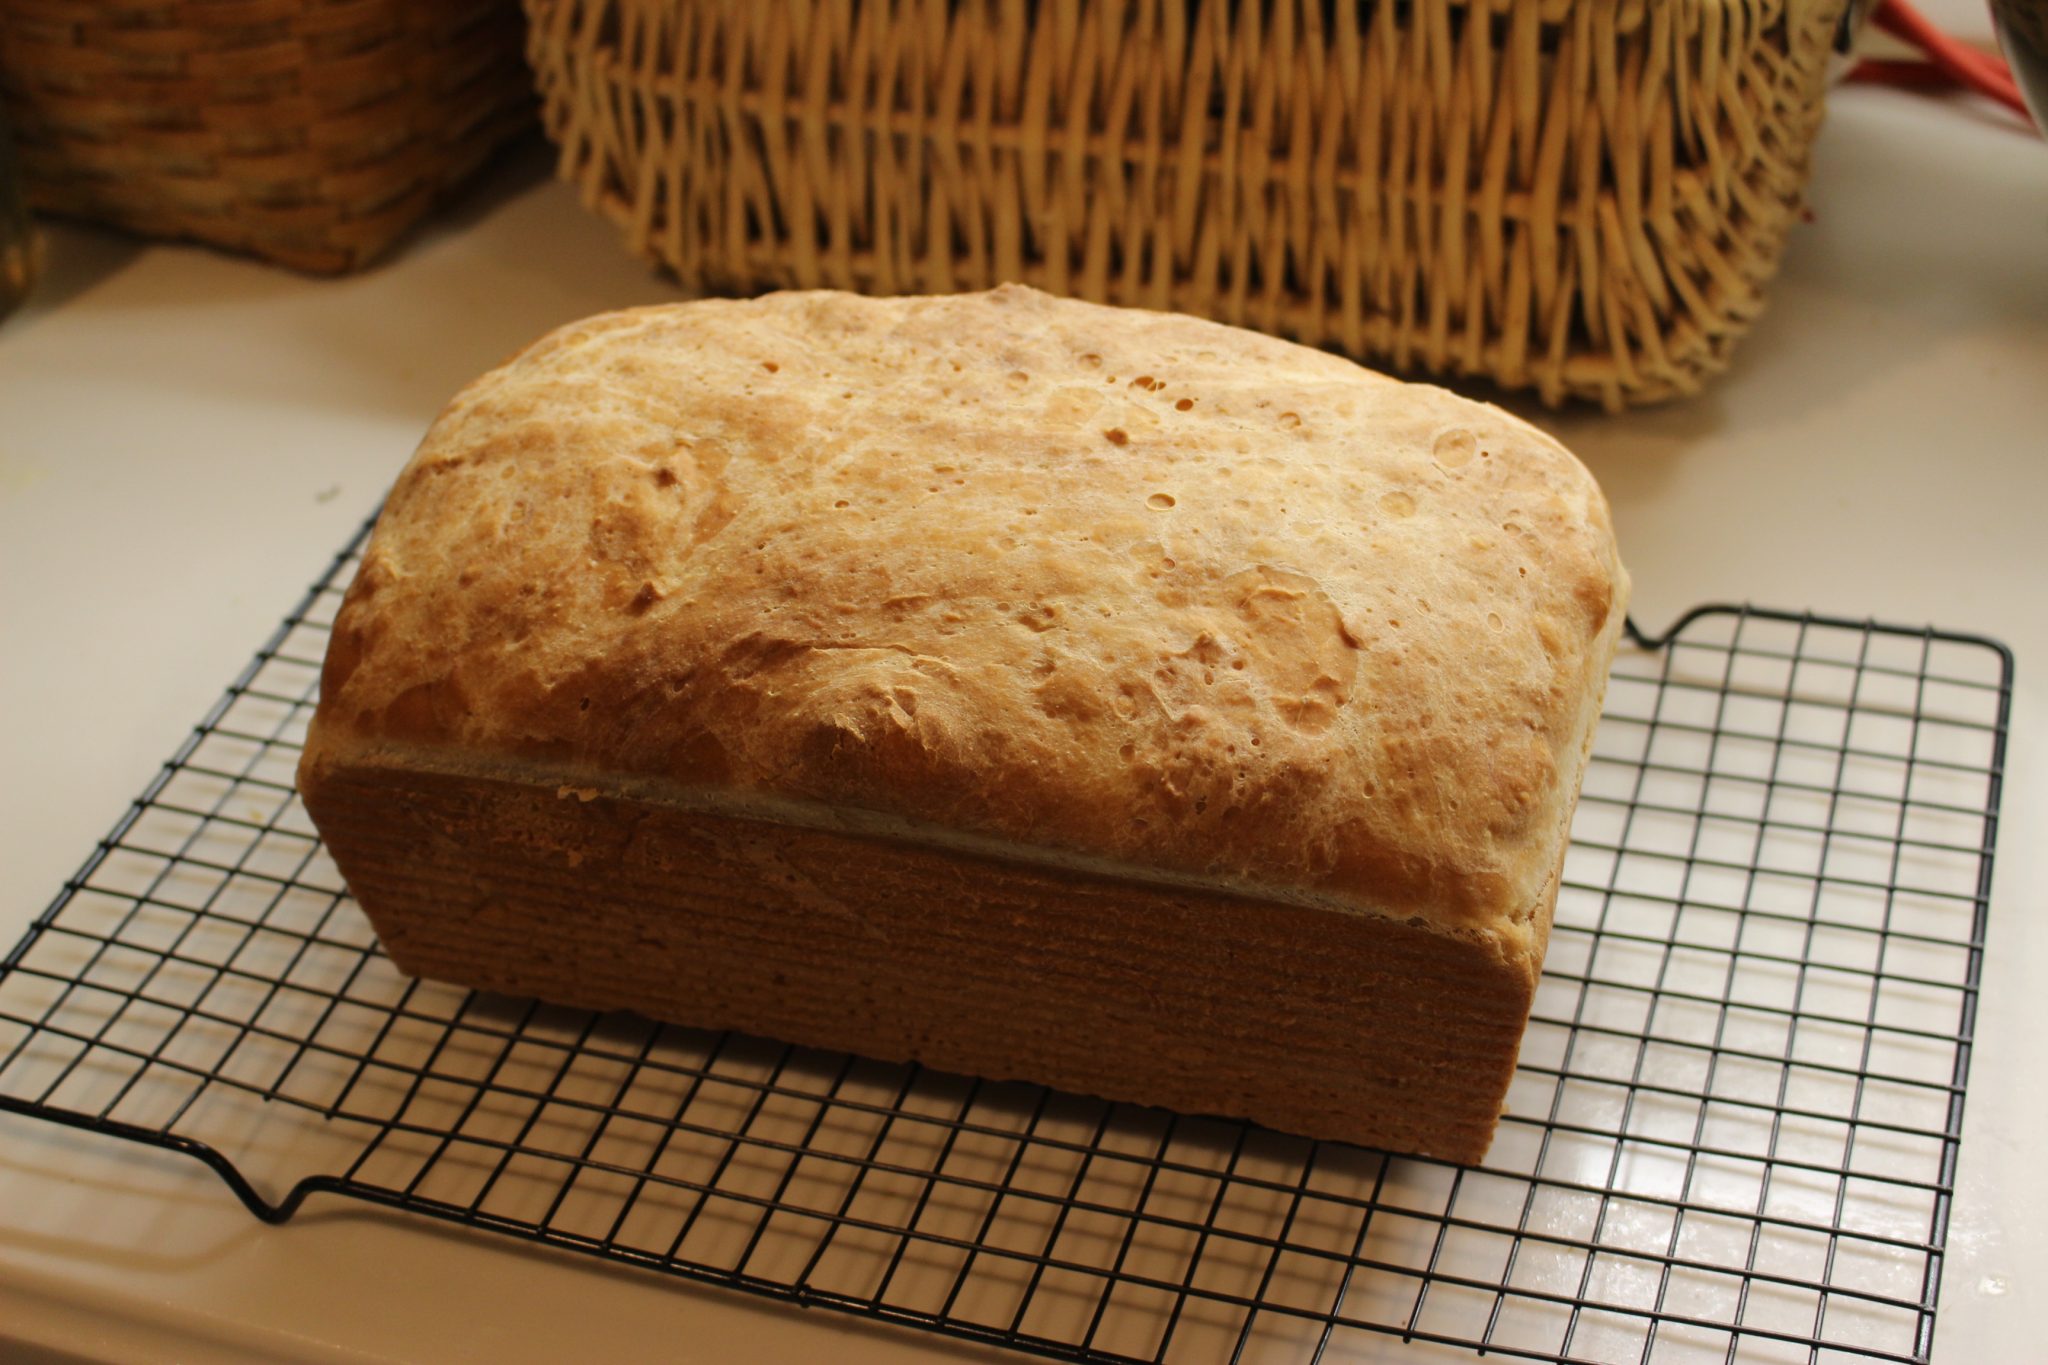
Cover with towel and let dough rest in bowl for 10 minutes. Stir batter down with spoon. Beat vigorously with a spoon for about 30 seconds. Pour dough into a greased 9 x 5-inch loaf pan . Cover with towel; let rise in warm place until doubled in size, about 40 minutes.
Bake in preheated 375°F oven for 35 to 45 minutes or until golden brown. Remove from pan and cool on wire rack.
Declare Victory!
If you have willpower to spare, the best thing is to allow the bread to cool completely before cutting into it. If you are like the rest of us, you might at least give it a few minutes to cool off before slicing into it. This allows the “crumb” (inside part) to “set” so you won’t have any sort of gumminess when you eat it. Be sure to save some butter to make your feast complete.
Baker’s Tips
When you heat your mixture of liquid ingredients, be careful not to overheat it. This can kill your yeast. A rule of thumb often quoted is to put a little on your wrist. If it feels very warm on your wrist, it’s perfect for the yeast.
When your bread is rising before baking, watch to make sure it doesn’t go more than a half inch or so above the edge of your pan. If you lose track of it, it will resemble a scene from “Son of Flubber” – not a pretty picture!
When you put your bread in the oven to bake, position it at the middle of the oven for even baking.
Conclusion
It is my hope that you will “catch the fever” of home baking. You will find it very satisfying as your skill improves and you will be eating much higher quality bread – for much less money!
Contact Michael Bell at mbell@ImaginaryBakery.NET for questions and concerns.
Comment photos of your “creations” so we can see how you did!